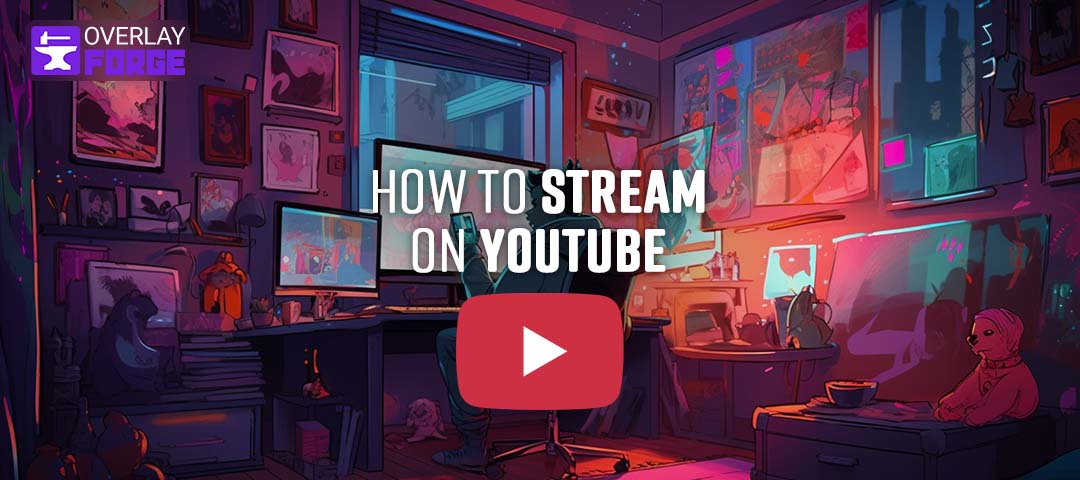
Prologue: The Wonders of Live Streaming
In a world where technology and creativity collided, a new breed of entertainers emerged – the YouTube streamers. Among them was Alex, an aspiring content creator who has uploaded videos to YouTube for a while and dreamt of sharing his passion with the world. One day, while browsing through YouTube, Alex stumbled upon a feature he had never seen before: YouTube Live. He was intrigued by the idea of streaming his content in real-time, interacting with his viewers through live chat, and building a stronger connection with his audience. This is the story of how Alex embarked on his journey to become a YouTube streamer and how you can too.
What is YouTube Live
YouTube Live is a feature on the YouTube platform that allows content creators to stream live video content to their audience in real-time. It enables creators to engage with their viewers through live chat, receive real-time feedback, and build a stronger connection with their audience.
Chapter 1: The Birth of a YouTube Channel
Alex knew that to begin his adventure, he needed a YouTube account. With excitement, he created his channel, choosing a unique name and uploading a profile picture that represented his personality. He then crafted a compelling channel description, inviting viewers to join him on his streaming escapades.
Your turn: Create or sign in to your YouTube account, and set up your channel with a memorable name, profile picture, and description.
How to Create Your YouTube Channel
Step 1: Sign in to your Google account or create a new one at accounts.google.com.
Step 2: Visit youtube.com and click on the “Sign In” button in the top-right corner. Log in using your Google account credentials.
Step 3: Click on your profile icon in the top-right corner, then select “Create a channel” from the dropdown menu.
Step 4: Choose a channel name, and click “Create.” Customize your channel by adding a profile picture, banner, and description to make it unique and engaging.
Chapter 2: Unlocking the Power of Live Streaming
To unlock the magical world of live streaming, Alex had to verify his YouTube account and agree to the platform’s terms and conditions. With a few clicks, he was granted access to the realm of real-time interaction and audience engagement.
Your turn: Verify your YouTube account and enable live streaming to begin your own streaming journey.
How to Enable Live Streaming on Your YouTube Channel
Step 1: Click on your profile icon and select “YouTube Studio.”
Step 2: Click the “Create” button (video camera icon) and choose “Go live.”
Step 3: If prompted, verify your account by selecting your country, choosing a verification method (phone call or text), entering your phone number, and submitting the received verification code.
Step 4: Wait for YouTube’s approval email, which may take up to 24 hours.
Once enabled, you can start live streaming on your YouTube channel. Don’t forget to configure your streaming software and set up your streaming environment before going live.
Chapter 3: Choosing a Faithful Streaming Companion
Alex knew he couldn’t embark on this quest alone. He needed a reliable streaming software by his side. After researching the mystical tomes of OBS Studio, Streamlabs OBS, and XSplit, he chose the one that best suited his needs and offered the most enchanting features.
Your turn: Compare the features, pros, and cons of popular streaming software options, and select the one that aligns with your goals.
Most Popular Streaming Softwares Pros and Cons
OBS Studio
OBS Studio is a powerful, open-source software for video recording and live streaming, widely used by content creators to broadcast their content.
Pros:
- Free and open-source
- Cross-platform compatibility
- Customization and flexibility
- Plugin support
Cons:
- Steeper learning curve
- Fewer built-in features
Streamlabs OBS
Streamlabs OBS is a user-friendly, feature-rich streaming software built on the foundation of OBS Studio, offering integrated tools and resources specifically designed for content creators to enhance their live streaming experience.
Pros:
- User-friendly interface
- Built-in features
- Streamlabs integration
- Customizable themes
Cons:
- Windows-only
- Higher system resource usage
XSplit
XSplit is a versatile live streaming and video mixing software that provides content creators with a range of tools and features to produce professional-quality broadcasts.
Pros:
- Intuitive interface
- Professional features
- Integrated tools
- Customer support
Cons:
- Limited free version
- Windows-only
- Higher system resource usage
Chapter 4: Mastering the Art of Streaming Configuration
With his streaming software in hand, Alex ventured into the world of settings and configurations. He connected his software to his YouTube account using a stream key and fine-tuned his video resolution, bitrate, and frame rate. He also ensured his audio and video quality were top-notch, ready to captivate his audience.
Your turn: Configure your streaming software by connecting it to your YouTube account and optimizing your audio and video settings.
Follow these steps to configure YouTube live streaming using OBS Studio:
Configure OBS Studio for YouTube Streaming
Step 1: Obtain Your YouTube Stream Key
- Log in to your YouTube account and click on your profile icon.
- Select “YouTube Studio” and click the “Create” button (video camera icon).
- Choose “Go live” and navigate to the “Stream” tab.
- Scroll down to the “Stream settings” section and copy your “Stream key.”
Step 2: Configure OBS Studio
- Open OBS Studio and click on “Settings” in the lower-right corner.
- In the “Settings” window, select the “Stream” tab on the left side.
- Choose “YouTube / YouTube Gaming” from the “Service” dropdown menu.
- Paste your YouTube stream key into the “Stream key” field.
- Click “Apply” and then “OK” to save your settings.
Step 3: Adjust Video and Audio Settings
- In the “Settings” window, select the “Video” tab.
- Set your desired “Base (Canvas) Resolution” and “Output (Scaled) Resolution.”
- Choose your preferred “FPS (Frames Per Second)” value.
- Click “Apply” and then “OK” to save your settings.
- In the “Settings” window, select the “Audio” tab.
- Configure your audio devices, such as your microphone and desktop audio.
- Click “Apply” and then “OK” to save your settings.
Step 4: Set Up Scenes and Sources
- In the main OBS Studio window, click the “+” button under the “Scenes” section to create a new scene.
- Click the “+” button under the “Sources” section to add sources, such as display capture, window capture, or game capture.
- Arrange and resize your sources as needed.
Chapter 5: Crafting the Perfect Streaming Sanctuary
Alex understood the importance of a dedicated streaming space. He transformed a corner of his room into a streaming haven, focusing on lighting, background, and minimizing distractions. He also ensured his internet connection was as stable as the mightiest fortress.
To ensure a smooth and uninterrupted YouTube streaming experience, it is recommended to have a stable internet connection with a minimum upload speed of 5 Mbps.
Your turn: Create a dedicated streaming environment with proper lighting, an appealing background, and a stable internet connection.
Chapter 6: The Art of Engaging Storytelling
Before embarking on his live streaming journey, Alex planned his content meticulously. He brainstormed topics, talking points, and visuals that would captivate his audience. He also devised ways to interact with his viewers, making them feel like part of his epic tale.
Your turn: Plan your live stream content in advance, and think of ways to engage your audience through interaction and storytelling.
Chapter 7: Spreading the Word of Your Streaming Adventures
Alex knew that to gather an audience, he needed to promote his live stream. He shared his upcoming streams on social media, designed eye-catching thumbnails, and scheduled his streams in advance. He understood that consistency was key to building a loyal following.
Your turn: Promote your live stream through social media, create engaging thumbnails, and maintain a consistent streaming schedule.
Chapter 8: The Treasure of Monetization
As Alex’s streaming journey progressed, he discovered the treasures of YouTube monetization. He learned about Super Chat, Super Stickers, and channel memberships. He applied for the YouTube Partner Program to unlock even more opportunities.
Your turn: Explore YouTube’s monetization options and consider applying for the YouTube Partner Program once you meet the eligibility requirements.
YouTube Partner Requirements
To be eligible for the YouTube Partner Program, creators must meet the following requirements:
- Have at least 1,000 subscribers.
- Have at least 4,000 valid public watch hours in the past 12 months.
- Comply with YouTube’s Community Guidelines and Terms of Service.
- Have an AdSense account linked to their YouTube account.
- Reside in a country or region where the YouTube Partner Program is available.
Epilogue: The Legend Continues
And so, Alex’s journey to becoming a YouTube streamer began. With each stream, he grew more confident and skilled, captivating his audience with his unique storytelling approach. Now, it’s your turn to embark on your own streaming adventure and create a legend of your own.
Your turn: Start streaming on YouTube, learn from your experiences, and continue to grow as a content creator. The world awaits your story.
Remember, dear reader, that practice makes perfect. As you follow in Alex’s footsteps, you too can become a successful YouTube streamer and share your passion with the world. Good luck on your journey!