Introduction
Ready to step into the world of live streaming? OBS Studio is one of the most popular live streaming encoders out there. It is your go-to tool for starting your streaming journey and taking your existing skills to the next level. This powerful, accessible, open-source software is perfect for recording and live streaming, offering features for beginners and advanced users.
In this comprehensive guide, we’ll cover everything from installation over the integration of OBS Overlays to advanced customization. Whether you’re a gaming enthusiast looking to capture epic moments or planning to host a live show on Twitch or YouTube, we’ve got you covered. Let’s dive into the endless possibilities with OBS Studio and transform your streaming experience. Welcome aboard!
What is OBS Studio?
Open Broadcaster Software, popularly known as OBS Studio, is a renowned tool in the streaming community. It’s not just a piece of software; it’s a powerhouse designed to take your streaming to the next level. Here are some of OBS’s main features:
- Free and Open Source: Unlike many other streaming solutions, OBS Studio is free and open. You can even access and modify its code if you have the technical skills!
- Cross-Platform: Whether you’re on Windows, Mac, or Linux, OBS Studio has you covered. This makes it an incredibly accessible tool for streamers everywhere.
- Versatile and Customizable: From simple screen captures to elaborate live streams with multiple sources, OBS Studio offers unparalleled flexibility. Add overlays, adjust audio, manage layers, and much more. The sky’s the limit!
- Integration with Popular Platforms: Twitch, YouTube, Facebook Gaming – you name it, OBS Studio can connect with it. Stream effortlessly to your platform of choice with user-friendly configuration settings.
- Recording and Live Streaming: Want to record a tutorial or stream your gameplay live? OBS Studio offers high-quality recording options alongside robust live-streaming capabilities.
- Community Support: With a vibrant community of developers and enthusiasts, you’ll find ample resources, tutorials, plugins, and support to enhance your OBS Studio experience.
OBS Studio is more than just a tool; it’s a gateway to creating engaging and professional content. Whether you’re just starting out or looking to elevate your streaming game, OBS Studio provides the features, flexibility, and community support you need to succeed. If streaming is your passion or profession, OBS Studio is a must-have in your toolkit.
Preparation: Before You Install OBS Studio
Before diving into the world of streaming with OBS Studio, you’ll want to ensure a few essential details are in place. These preliminary steps will set you up for success:
- Update Graphics Drivers: OBS Studio relies on your GPU, so ensure your graphics drivers are current. Visit the manufacturer’s website, such as NVIDIA or AMD, for the latest versions.
- Gather Necessary Equipment: Ensure essential equipment like a microphone, camera, and headphones are ready and working correctly. Testing them beforehand can save you from last-minute issues.
These essential preparation steps will pave the way for a smooth transition into the world of streaming with OBS Studio, making your initial experience as seamless as possible.
Installing OBS Studio
Downloading OBS Studio
Downloading and installing OBS Studio is a smooth process that can be done in a few simple steps. First, you’ll need to head over to the official OBS Studio website to find the version compatible with your operating system, whether Windows, Mac, or Linux. Once you find the correct version, click the download link, and the download will begin automatically.
Installing OBS Studio
After the download is complete, open the installer and follow the instructions on your screen to install OBS Studio. You won’t have to worry about complicated settings or procedures; it’s all quite user-friendly.
Run OBS Studio in Admin Mode
Next, setting OBS to run in Administrator Mode is a good idea. This minor adjustment helps in preventing permission issues and can even improve performance. Right-click the OBS Studio icon, navigate to ‘Properties,’ followed by ‘Compatibility,’ and then select ‘Run this program as an administrator.’
Launch OBS Studio
Finally, launch OBS Studio, and you’ll be ready to configure your settings and create your first scene. Welcome to the world of streaming; you’re all set to go!
Quickstart: OBS Studio Auto-Configuration
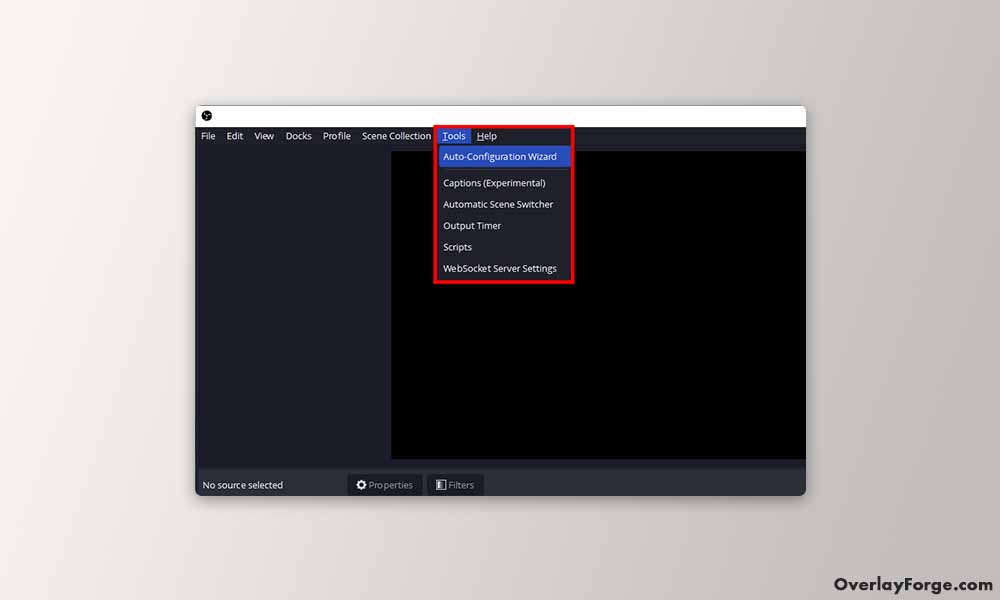
OBS Studio knows that setting up a stream can be daunting for beginners. That’s where the Auto-Configuration wizard comes in handy. The feature automatically tests your system and recommends optimal video quality, bitrate settings, and other vital elements. All you need to do is go to ‘Tools‘ in the top menu and select ‘Auto-Configuration Wizard,’ then follow the on-screen prompts. It’s a quick and straightforward way to kickstart your streaming journey.
Settings for OBS Studio
Configuring OBS Studio can be a breeze if you know the right settings, but it’s important to note that the best configuration can vary depending on your unique streaming setup. Below, we’ll guide you through setting up various resolutions and frame rates, along with optimal audio settings. Our aim is to cover the most common settings suitable for all kinds of streamers, from casual gamers to professional broadcasters.
Best OBS Studio Settings in One Look
| Resolution @ FPS | Output Resolution | Recommended Bitrate | Recommended Upload Speed |
|---|---|---|---|
| 720p @ 30fps | 1280 x 720 | 2500 to 4000 Kbps | 5 Mbps |
| 720p @ 60fps | 1280 x 720 | 3500 to 5000 Kbps | 6 Mbps |
| 1080p @ 30fps | 1920 x 1080 | 4500 to 6000 Kbps | 8 Mbps |
| 1080p @ 60fps | 1920 x 1080 | 6000 to 8000 Kbps | 10 Mbps |
| 4k @ 60fps | 3840 x 2160 | 20000 to 40000 Kbps | 50 Mbps |
Video Settings:
Resolutions and Frame Rates:
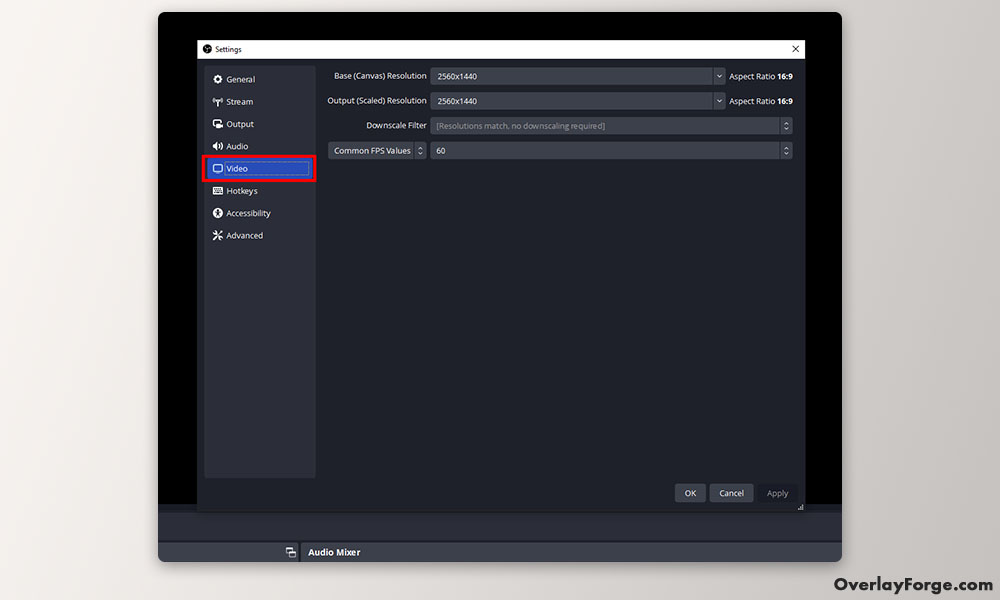
You can find these settings under ‘Settings’> ‘Video’ in OBS Studio:
- Base (Canvas) Resolution: Set this to the resolution of your monitor or the resolution you want to capture.
- Output (Scaled) Resolution: This is where you select the streaming resolution, such as 720p, 1080p, or 4k.
- Downscale Filter: Choosing ‘Lanczos’ offers the best quality.
- Common FPS Values: Set this to the desired frame rate, such as 30 or 60.
Here are the most common setups for streaming:
- 720p at 30fps or 60fps: Set Output Resolution to 1280×720 and Common FPS Values to 30 or 60.
- 1080p at 30fps or 60fps: Set Output Resolution to 1920×1080 and Common FPS Values to 30 or 60.
- 4k at 60fps: Set Output Resolution to 3840×2160 and Common FPS Values to 60.
Output Settings:
Bitrates and Internet Requirements:
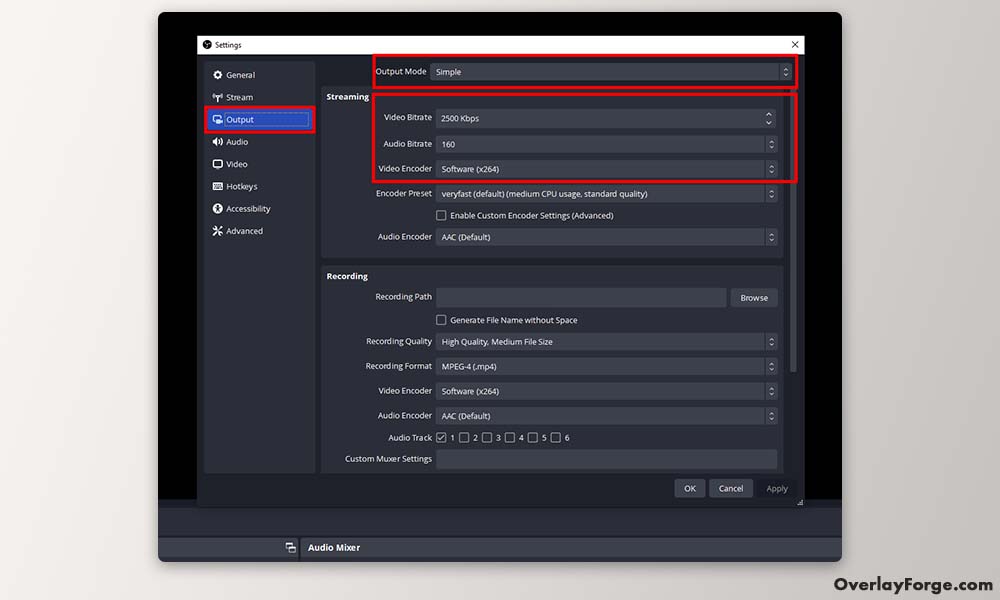
These settings are under ‘Settings’> ‘Output’ in OBS Studio. This guide will only discuss the ‘Simple’ Output Mode.
- Video Bitrate: Higher numbers offer better video quality but need faster internet. For a 720p 30fps stream, aim for 2500 to 4000 Kbps with a 5 Mbps upload speed.
- Audio Bitrate: A setting of 128 to 160 Kbps is generally acceptable and doesn’t demand much from your internet.
- Encoder: Choose between ‘Software (x264)’ and ‘Hardware (NVENC).’ Software gives better quality but uses more CPU, while Hardware is easier on your system.
The right bitrate depends on your chosen resolution and frame rate. Here’s a table showcasing different setups:
- 720p at 30fps: Set Video Bitrate to 2500 – 4000 Kbps. You should have at least 5 Mbps internet upload speed.
- 720p at 60fps: Set Video Bitrate to 3500 – 5000 Kbps. You should have at least 6 Mbps internet upload speed.
- 1080p at 30fps: Set Video Bitrate to 4500 – 6000 Kbps. You should have at least 8 Mbps internet upload speed.
- 1080p at 60fps: Set Video Bitrate to 6000 – 8000 Kbps. You should have at least 10 Mbps internet upload speed.
- 4k at 60fps: Set Video Bitrate to 20000 – 40000 Kbps. You should have at least 50 Mbps internet upload speed.
Audio Settings:
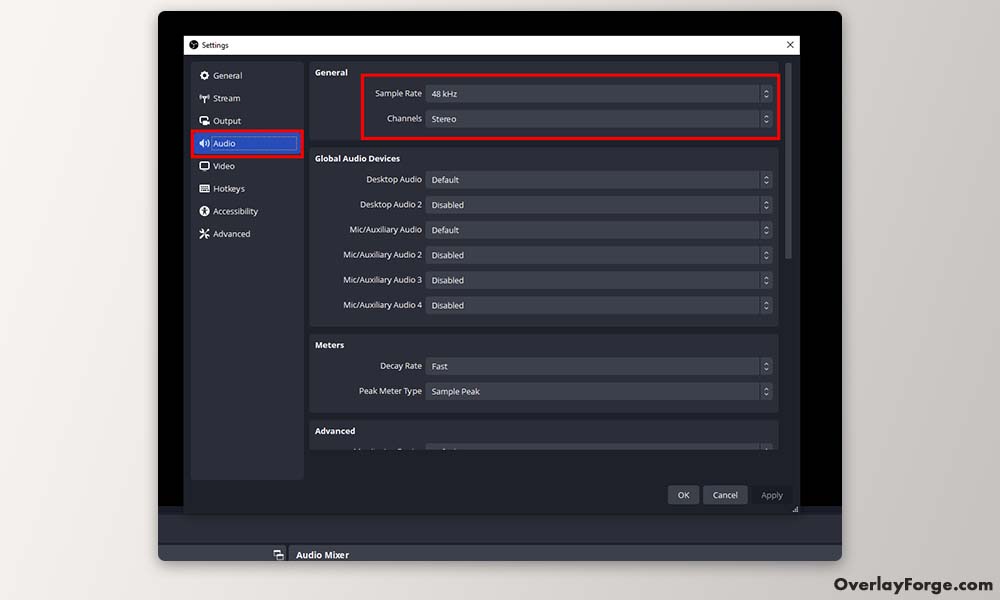
For the best audio quality, head to ‘Settings’> ‘Audio’ in OBS Studio and configure as follows:
- Sample Rate: Set to 48kHz for optimal compatibility.
- Channels: Choose ‘Stereo’ for a balanced audio experience.
- Desktop Audio Device & Mic/Auxiliary Audio Device: Select your primary speakers and microphone.
- Mic/Auxiliary Audio Device: Adjust to the preferred volume. Avoid setting it too high to prevent distortion.
By fine-tuning your OBS Studio settings as outlined in this guide, you set the stage for a premium streaming experience. This empowers you to shift your focus from technical hurdles to crafting content that captivates your audience. Always remember to run tests before going live to ensure everything is running smoothly, as individual setups can vary.
Connecting OBS Studio to Your Platform
Once you’ve installed OBS Studio and handled the essential preparations, the next step is connecting OBS Studio to your streaming platform of choice. Whether you’re using Twitch, YouTube, Facebook Gaming, or any other popular service, here’s a general guide to get you started:
- Choose Your Streaming Service: Open OBS Studio, go to the ‘Settings’ menu and click on the ‘Stream’ tab. You’ll see a dropdown menu where you can select your desired streaming service.
- Connect your Account: If you want to use a streaming platform like Twitch or YouTube, you will have the option ‘Connect Account.’ A popup will appear where you can directly link your account. No fussing around for your stream key. Just log in, and you’re golden.
- OR Enter Your Stream Key (Manually): If you’re using a service that doesn’t have a ‘Connect Account’ option or you prefer to do it manually, you’ll need your unique stream key. It’s given by your platform, and you usually find it in the account or channel settings on their site. Stick that key into the ‘Stream key’ field in OBS Studio.
- Test the Connection: Running a test stream is wise to ensure everything is working correctly before going live. Look for the preview in OBS Studio or check your platform to see the test stream.
Remember to treat your stream key carefully, as anyone accessing it can stream to your channel. Keep it confidential and regenerate it if you suspect it’s been compromised.
Scenes and Sources in OBS Studio
If you’ve made it this far, you’re ready to set up your live stream or recording session. But before you press that ‘Start Streaming‘ or ‘Start Recording‘ button, you must create your first scene and add some sources. Let’s walk through this step-by-step:
Most Common OBS Scenes That Streamers Use:
Before diving into the setup, let’s identify some typical scenes that streamers typically utilize:
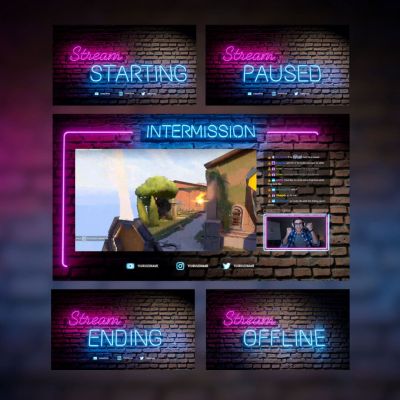
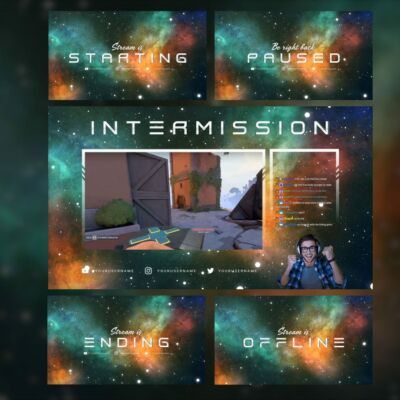
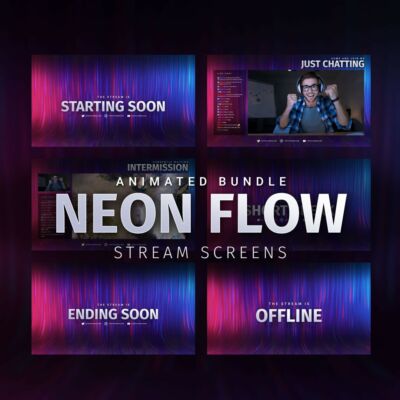
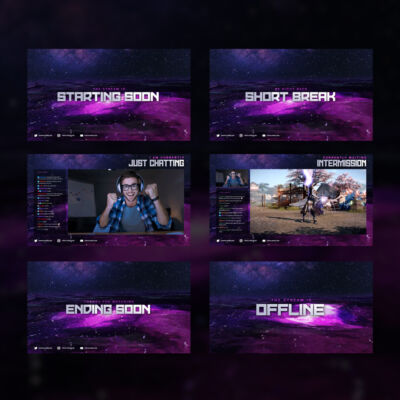
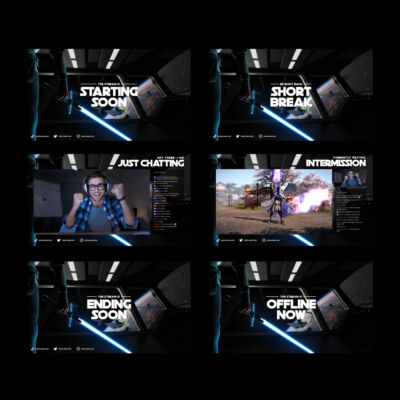
- Starting Soon Scene: Before you go live, a ‘Starting Soon’ screen serves as a placeholder, giving viewers time to gather. Adding a Starting Soon Screen, a countdown timer, and background music can make it more appealing and informative.
- Main Streaming Scene: This is where the magic happens! Your gameplay or primary content will be displayed here. You might also add a webcam source to showcase your reactions and connect with the audience.
- Be Right Back (BRB) Scene: Need a quick break? Switch to a ‘BRB’ scene that informs your audience you’ll return shortly. Adding a Be Right Back Screen from our stream screen collection can keep your viewers engaged while you’re away.
- Interactive Scene: Use this scene for interactive segments like Q&As, reading chat, or showcasing fan content. Here, you can include various elements like chat overlays and alerts for new followers or donations.
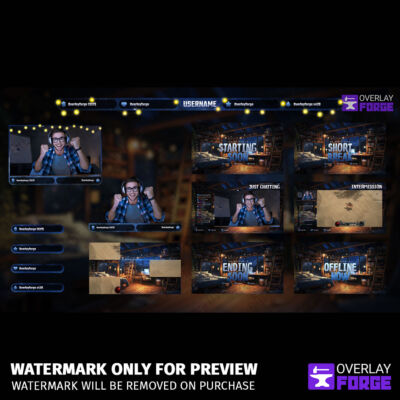
- Stream Ending Scene: Transition to a ‘Stream Ending’ scene once you wrap up. A customized Stream Ending Screen can leave a lasting impression, prompting viewers to follow or subscribe for future streams.

€11,99
Creating Your First Scene:
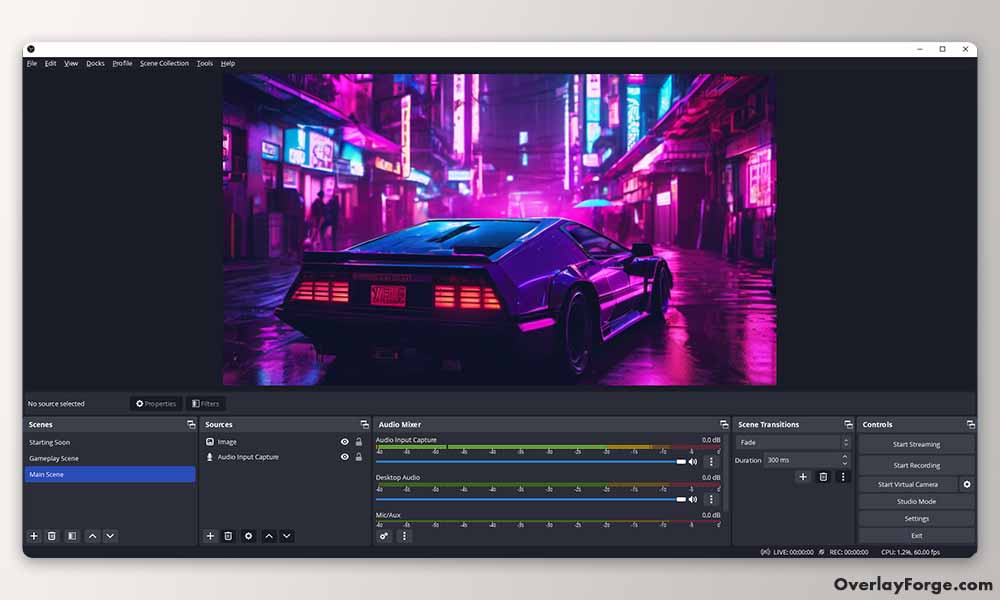
- Locate the Scenes Panel: On the bottom left of the OBS Studio interface, you’ll see a box labeled ‘Scenes‘. This is your cue!
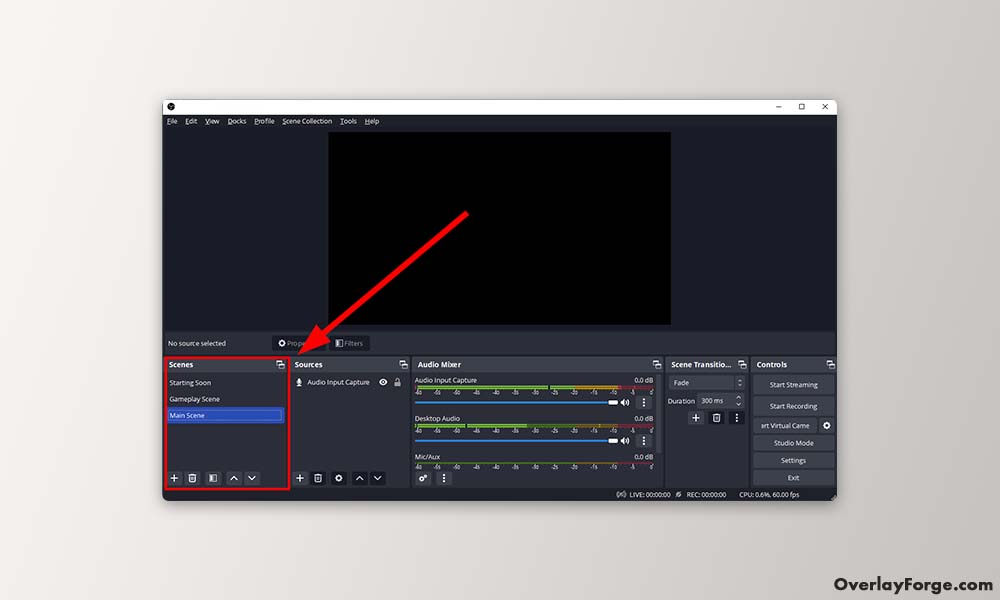
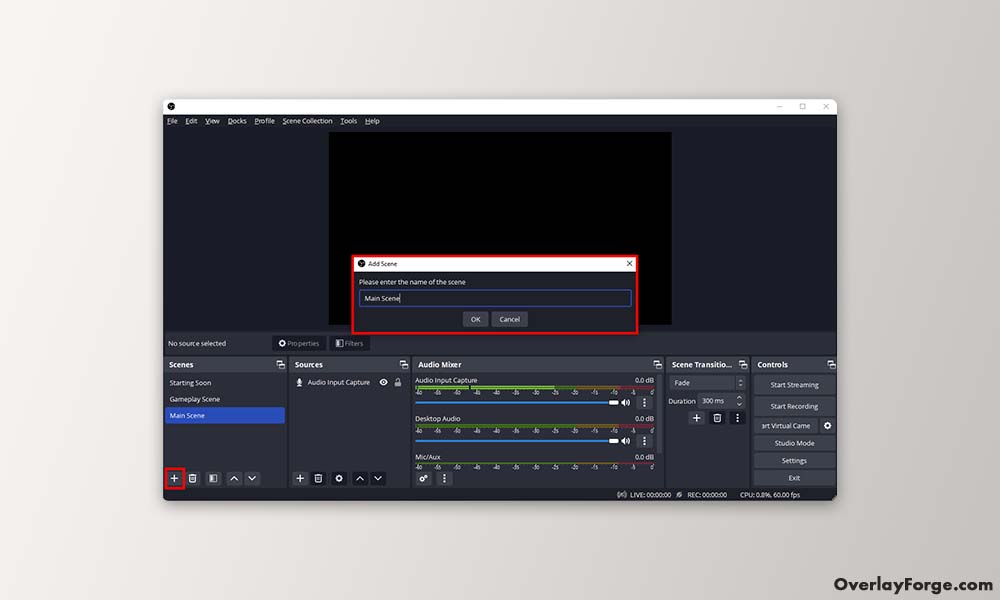
- Add a New Scene: Click the ‘+’ button under the ‘Scenes‘ box to add a new scene. Name it something descriptive like ‘Gameplay Scene‘ or ‘Main Scene‘.
Adding Your First Video and Audio Source to OBS Studio
Great, you’ve set up your scene. Now, let’s make it come alive by adding some sources. Sources aren’t just about what people see but also about what they hear. So, we’re going to cover both video and audio sources.
- Locate the Sources Panel: Right next to that ‘Scenes‘ box, you’ll find its partner-in-crime, the ‘Sources‘ box. This is where the magic happens.
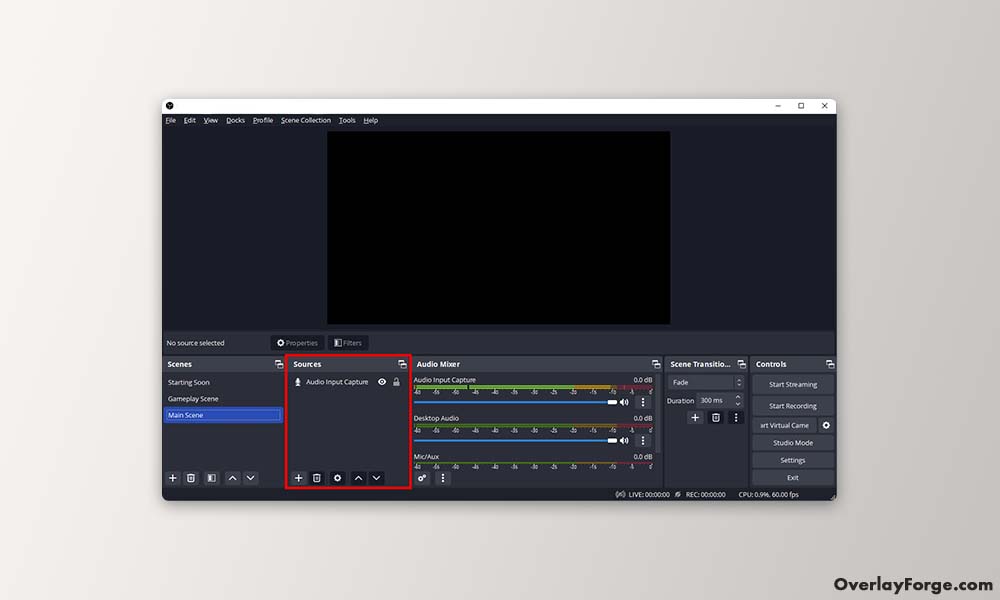
- Add a Source: Click that lovely ‘+’ button under ‘Sources‘ to reveal a menu teeming with options—everything from ‘Display Capture‘ to ‘Audio Input Capture‘ is up for grabs.
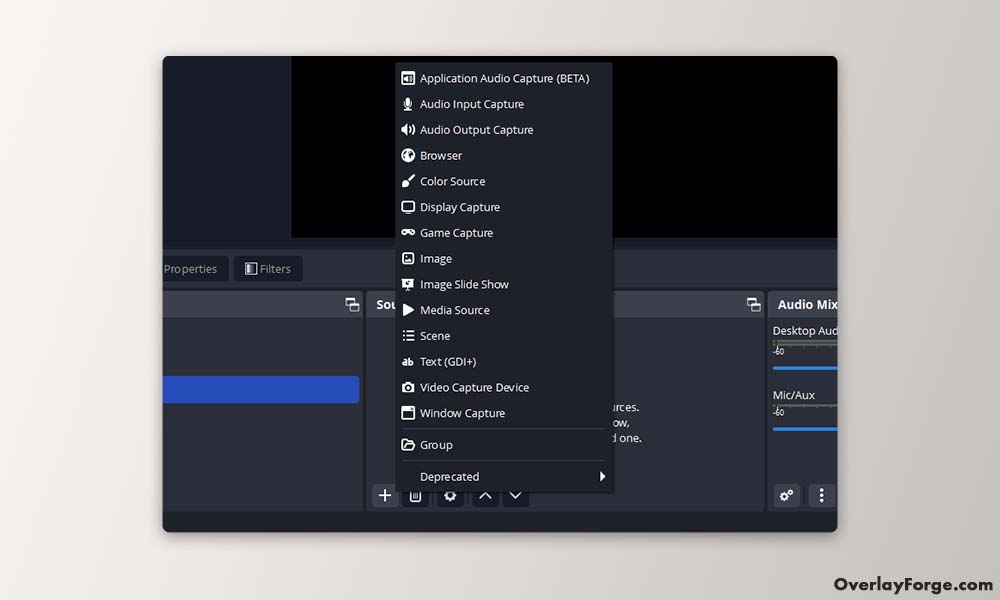
Important Video Sources
- Display Capture: This is your go-to for showing everything on your monitor. Excellent for tutorials or general screen sharing.
- Game Capture: Perfect for spotlighting specific applications or games. When you click ‘Game Capture,‘ a new window pops up, and you can select the game you’re running.
- Webcam or Video Device: To add your lovely face to the mix, choose ‘Video Capture Device‘ and select your webcam from the dropdown.
Important Audio Sources
- Audio Input Capture: This is where you add your microphone so people can hear your real-time reactions, commentary, or karaoke skills.
- Audio Output Capture: Planning to stream game audio or play background music? Use this to capture any sound that your computer is playing.
Resize, Arrange, and Layer
Once you’ve added your sources, you can easily control their placement and size. You can rearrange them by clicking and dragging within the OBS preview window. Want to crop or resize? Hold down the Alt key before dragging the handles to crop each element to your exact needs.
Adding More Layers:
You’re not limited to a single source. Feel free to add more layers, like a webcam feed (‘Video Capture Device‘) or on-screen text (‘Text‘). You can add:
- Overlays: To make your stream more engaging, consider adding overlay elements. Click the ‘+’ button under ‘Sources‘ and select ‘Image‘. Then, navigate to where your overlay is saved and add it.
- Alerts: If you want notifications for new followers, donations, etc., add a ‘Browser‘ source and link it to your alert service like Streamlabs or Stream Elements.
Adjusting Source Order:
Remember, the source listed at the top will be displayed above all others. You can rearrange the sources by dragging them up or down in the ‘Sources‘ list.
Creating your first scene and adding sources in OBS Studio might initially feel overwhelming. Still, it becomes second nature once you get the hang of it. This setup forms the backbone of your stream or recording, allowing you to produce content that’s engaging and technically sound.
Live Streaming and Recording in OBS Studio
So, you’ve decked out your scenes, fine-tuned your audio, and got your overlays just right. Now what? It’s showtime! In this section, we’ll break down the two most crucial moments: going live and hitting the record button.
Before You Go Live:
- Final Check: Go through all your scenes to make sure everything is in place—overlays, alerts, audio, you name it.
- Test Stream: If possible, do a quick private stream to test audio levels, video quality, and to ensure that all overlays and alerts are functioning correctly.
- Get Social: Announce that you’re about to go live on your social media channels to draw in an audience.
Starting Your Live Stream:
- Locate Stream Controls: You’ll find ‘Start Streaming’ and ‘Start Recording’ buttons on the lower-right corner of OBS Studio.
- Go Live: Simply click on the ‘Start Streaming’ button. A red dot will appear, indicating that you are now live. Your ‘Starting Soon’ scene could be your initial scene, giving you time to share your stream link and make any last-minute adjustments.
- Engage: Switch between scenes as needed during your stream. Use hotkeys for smooth transitions and to quickly toggle features on and off without disrupting the flow.
How to Record with OBS Studio:
- Why Record? Recording your streams can be useful for content repurposing like creating highlight reels, tutorials, or VODs to engage with your audience even when you’re not live.
- Start Recording: To record your stream locally, click ‘Start Recording’ next to the ‘Start Streaming’ button.
- Recording Settings: OBS lets you choose the format and destination for your recordings. You can access this via ‘Settings’> ‘Output’> ‘Recording’.
Best Practices in OBS Studio
Alright, you’ve tinkered with OBS Studio and you’re all set to hit the ‘Start Streaming’ button. But before you do, let’s set you up for success with some golden practices that seasoned streamers swear by.
- Organize Your Scenes and Sources: First, you must have your scenes and sources sorted. Trust us, you want to avoid scrambling through a pile of files when you’re live. A little organization goes a long way, so make folders and keep similar stuff together.
- Clip Highlights: You’ll have some killer moments while streaming. OBS Studio’s ‘Replay Buffer‘ feature is your friend here. Go to ‘Settings‘ -> ‘Output‘ -> and tick the box next to ‘Enable Replay Buffer.‘ You’ll be ready to clip those epic moments instantly for later use.
- Check Your Audio Levels: Bad audio can turn a great stream into a disaster. Keep an eye on that audio mixer in OBS. Aim for the yellow range; hitting the red can cause a sonic apocalypse (read: audio clipping and distortion).
- Run a Pre-Stream Checklist: Give yourself a quick pat-down before going live. Scenes good? Mic unmuted? If you’ve got all your bases covered, you’ll start your stream with the confidence of a pro.
- Always Test Before Going Live: Yeah, it sounds obvious. But you’d be surprised how many people skip this step. Run a test stream to catch any gremlins that might screw up your stream.
- End With a Bang: When it’s time to call it a day, go out with style. Switch to your ‘Stream Ending’ scene, shower your viewers with thanks, and maybe even initiate a ‘raid’ to another stream. Keep the good vibes rolling!
By sticking to these best practices, you’re not just hitting ‘Start Streaming‘—you’re delivering an experience.
Optimization and Troubleshooting in OBS Studio
You’re live, your overlays are sparkling, and your content is pure gold. But suddenly, you notice some issues. Lag? Audio problems? Let’s dial it back and delve into how to optimize your OBS Studio settings and troubleshoot common snags.
Optimization
First up, consider lowering your bitrate if you’re experiencing lag or dropped frames. Your internet speed could be the hidden culprit, so keep an eye on it. For a smoother streaming experience, it’s wise to match your FPS and resolution with your computer’s capabilities. Remember, high-action content requires higher FPS, but if you’re running a laid-back talk show, 30 FPS should suffice. If your CPU shoulders too much of the burden, switch your output settings to hardware encoding, which leans more on your GPU. You’ll often get better performance this way. Another way to boost performance? Give OBS all the system resources it can get. Close down unnecessary applications during your stream.
Troubleshooting Common Issues
Moving onto audio, if your audio and video are out of sync, adjusting the ‘Sync Offset’ in the advanced audio settings can often solve this. Similarly, choppy audio could mean a mismatch in sample rates between OBS and your audio interface, so make sure these match.
Lost connection to your streaming service? Double-check your stream key and server settings. Sometimes, a quick restart of OBS or your computer can sort things out. If you’re dealing with excessive lag or stream delays, you might need to tweak the ‘Stream Delay‘ setting under the ‘Advanced Settings‘ in OBS.
If you’ve got overlay issues—like your overlays aren’t showing up or functioning as they should—ensure they’re correctly added and layered in the proper order in your ‘Sources‘ panel.
For minor glitches and everything else, a good rule of thumb? Turn it off and on again. A simple restart can work wonders. Keep your OBS Studio updated. The software is frequently refined to include performance improvements and bug fixes. If you are still experiencing any issues, the OBS logs may be able to provide valuable insights for advanced troubleshooting.
Optimization and troubleshooting might not be the glitzy side of streaming, but they’re essential for providing a seamless viewer experience. With these tips, you’re well-equipped to solve any hiccup that comes your way during your streaming journey.
Additional Resources and Tools for OBS Studio
So you’ve got the basics of OBS Studio down, but you’re not here to be basic, are you? Trust me, there’s a universe of resources and tools just waiting to make your streaming life much cooler.
Learning Resources:
Hit up the OBS Forum or Help page, and explore Reddit communities like r/OBS and r/Twitch. If you’re more into quick tutorials, YouTube is your friend.
Graphic Elements:
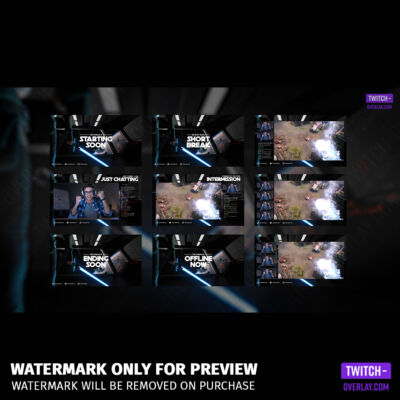
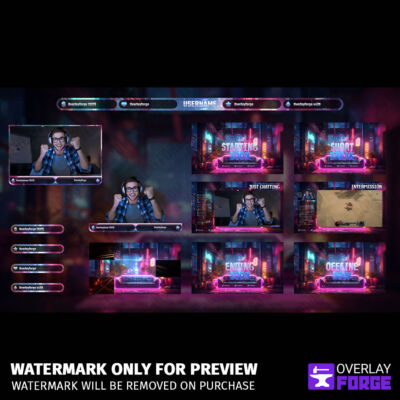
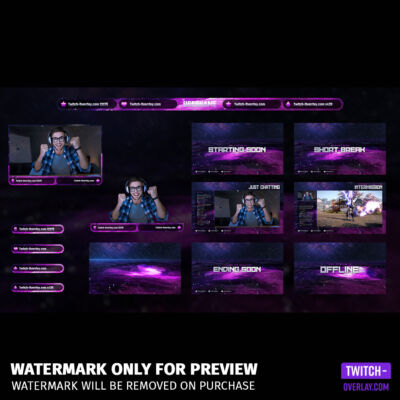
In a world of streams, your visual setup is your brand. At Overlayforge, we specialize in overlays for scenes like ‘Starting Soon,’ ‘Be Right Back,’ and ‘Stream Ending.’ We also offer alerts and webcam overlays that can make your stream visually irresistible.


Streamer Communities:
Feeling lonely? Join specialized Discord servers or Twitch teams to network with other streamers, get live feedback, and level up your game. The bottom line? Your streaming career isn’t just about mastering OBS Studio. It’s about embracing an ecosystem of tools, resources, and communities. Dive in. The water’s fine.
Wrapping It Up
Navigating the world of live streaming can feel like tackling a beast, but with OBS Studio as your trusty tool, you have a head start. This guide aims to demystify the entire process, from initial preparations and connecting to your platform to creating visually and audibly engaging scenes. We dove deep into optimizing your setup for various resolutions, FPS looked into common issues you might face and how to troubleshoot them, and even explored additional resources and tools to elevate your streaming game. It’s not just about pressing ‘Start Streaming’; it’s about creating a compelling, seamless experience that keeps your audience coming back for more. So go ahead, unleash your creativity, and happy streaming!